Settings
Introduction
The Settings section is the centralised location where you manage all elements of the SparkLayer integration on your website. To begin with, it is used as part of the Onboarding Process, and once you're up and running, it can then be used as a ongoing systems health-check.
Onboarding
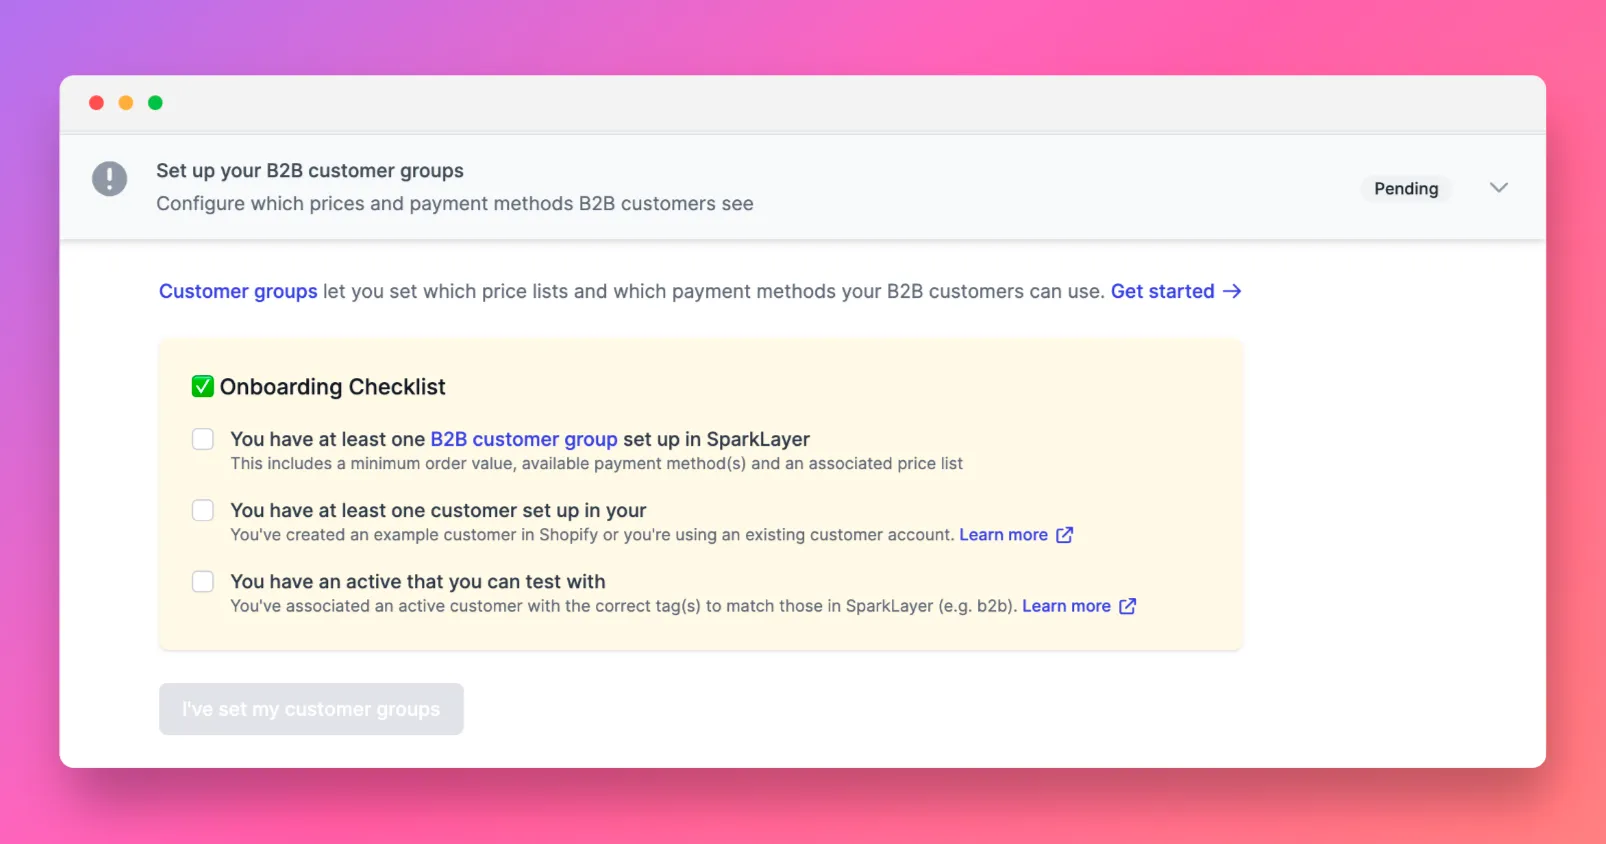
The Onboarding section guides you through the process of configuring SparkLayer. You can learn more about this Getting Started. Once all steps are completed, your integration is ready to go!
Each step can be clicked either to take you to the appropriate area of the Dashboard to be configured, or expanded to show you information right there. For the last two steps, manual testing is required and you'll be asked to check a variety of boxes before marking the step as complete.
API Keys
Please note Access to the SparkLayer API is only available on the Pro and Enterprise Plans
In order to interact with the SparkLayer API, you'll first need to generate a unique API key that you'll use as part of your integration.
To get started, from within the API Key section, click the 'Create new API Key' button
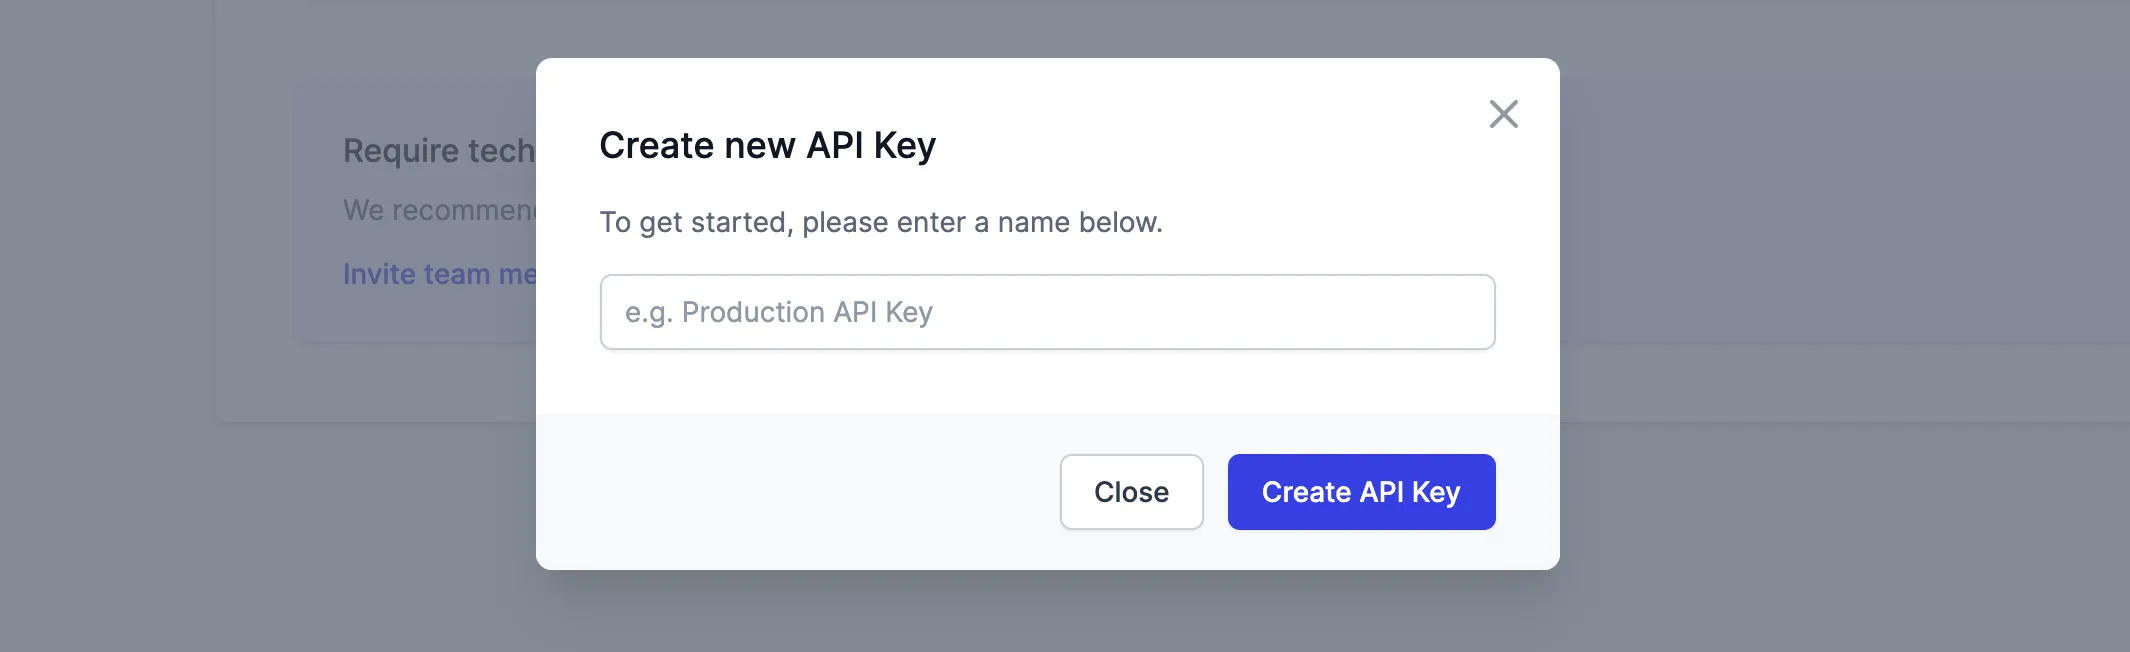
When you click 'Create API Key', you'll then see your unique Client ID and Client Secret that you'll need for the SparkLayer API.
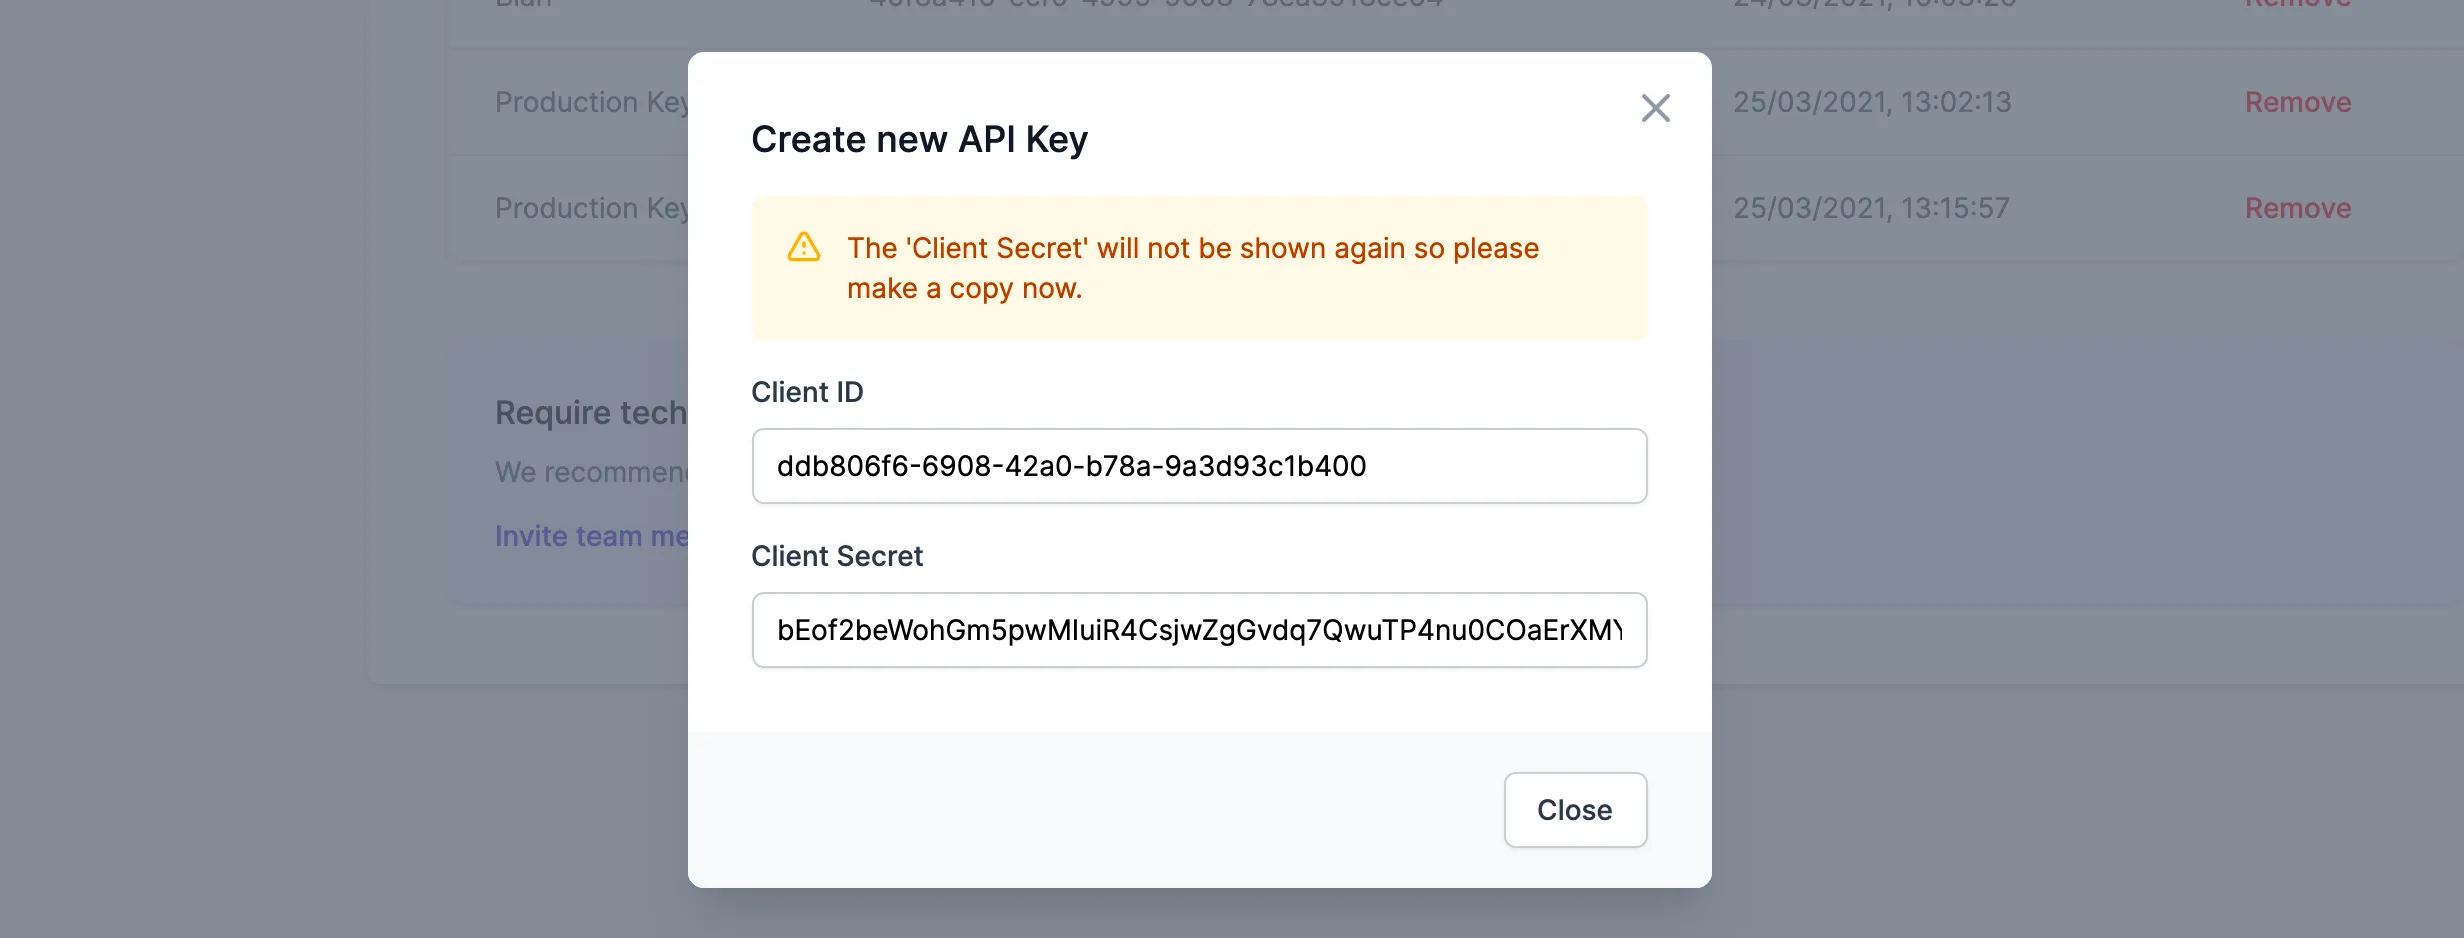
Important You will only see the Client Secret code once when you create your API Key so make sure to make a note of it.
Once you've created an API Key, you'll then see this listed on the page and you can begin your integration. If you require additional API keys to be created, simply follow the same process noted above.
Configurations
Configurations let you configure specific options for your customers when they're using the Frontend.
Learn more about configurations To see all available configurations on SparkLayer, please refer to our guide here.
Setting | Details |
|---|---|
Stock level display limit | If you're displaying stock levels on a product page, you can choose the maximum stock number customers see. For example, if you enter 51, on the frontend this will display as 50+ to the customer if you have more than 50 in stock. |
Apply tiered pricing across variants | If a product has variants (e.g. sizes), tiered pricing will by default be applied across all variants. You can adjust this to apply only so specific variants instead. |
Internal Purchase ID Prefix/Postfix | When a purchase is internal to SparkLayer, we use an internal ID. This is the case for purchases that are not in Shopify, e.g. orders for approval, and quotes. You can customise this ID to have a prefix and/or postfix. By default, the prefix is #P. |
Store Details
Please note If you're using company user email notifications, this feature allows you to customise the store name used in emails sent from SparkLayer.
By default, the store name displayed in your SparkLayer account is synchronised directly from your eCommerce platform. This ensures consistency across platforms, so any updates you make to the store name in your eCommerce platform will automatically appear in SparkLayer.
To customise the name of your B2B store, you can overwrite the default settings by following these steps:
- Log in to your SparkLayer Dashboard.
- From the left-hand sidebar, select Configurations.
- Under Store Settings, go to Store Details and click Edit.
- In the side pop-up, update the Store Name field with your preferred name.
- Save your changes by clicking Update Settings.
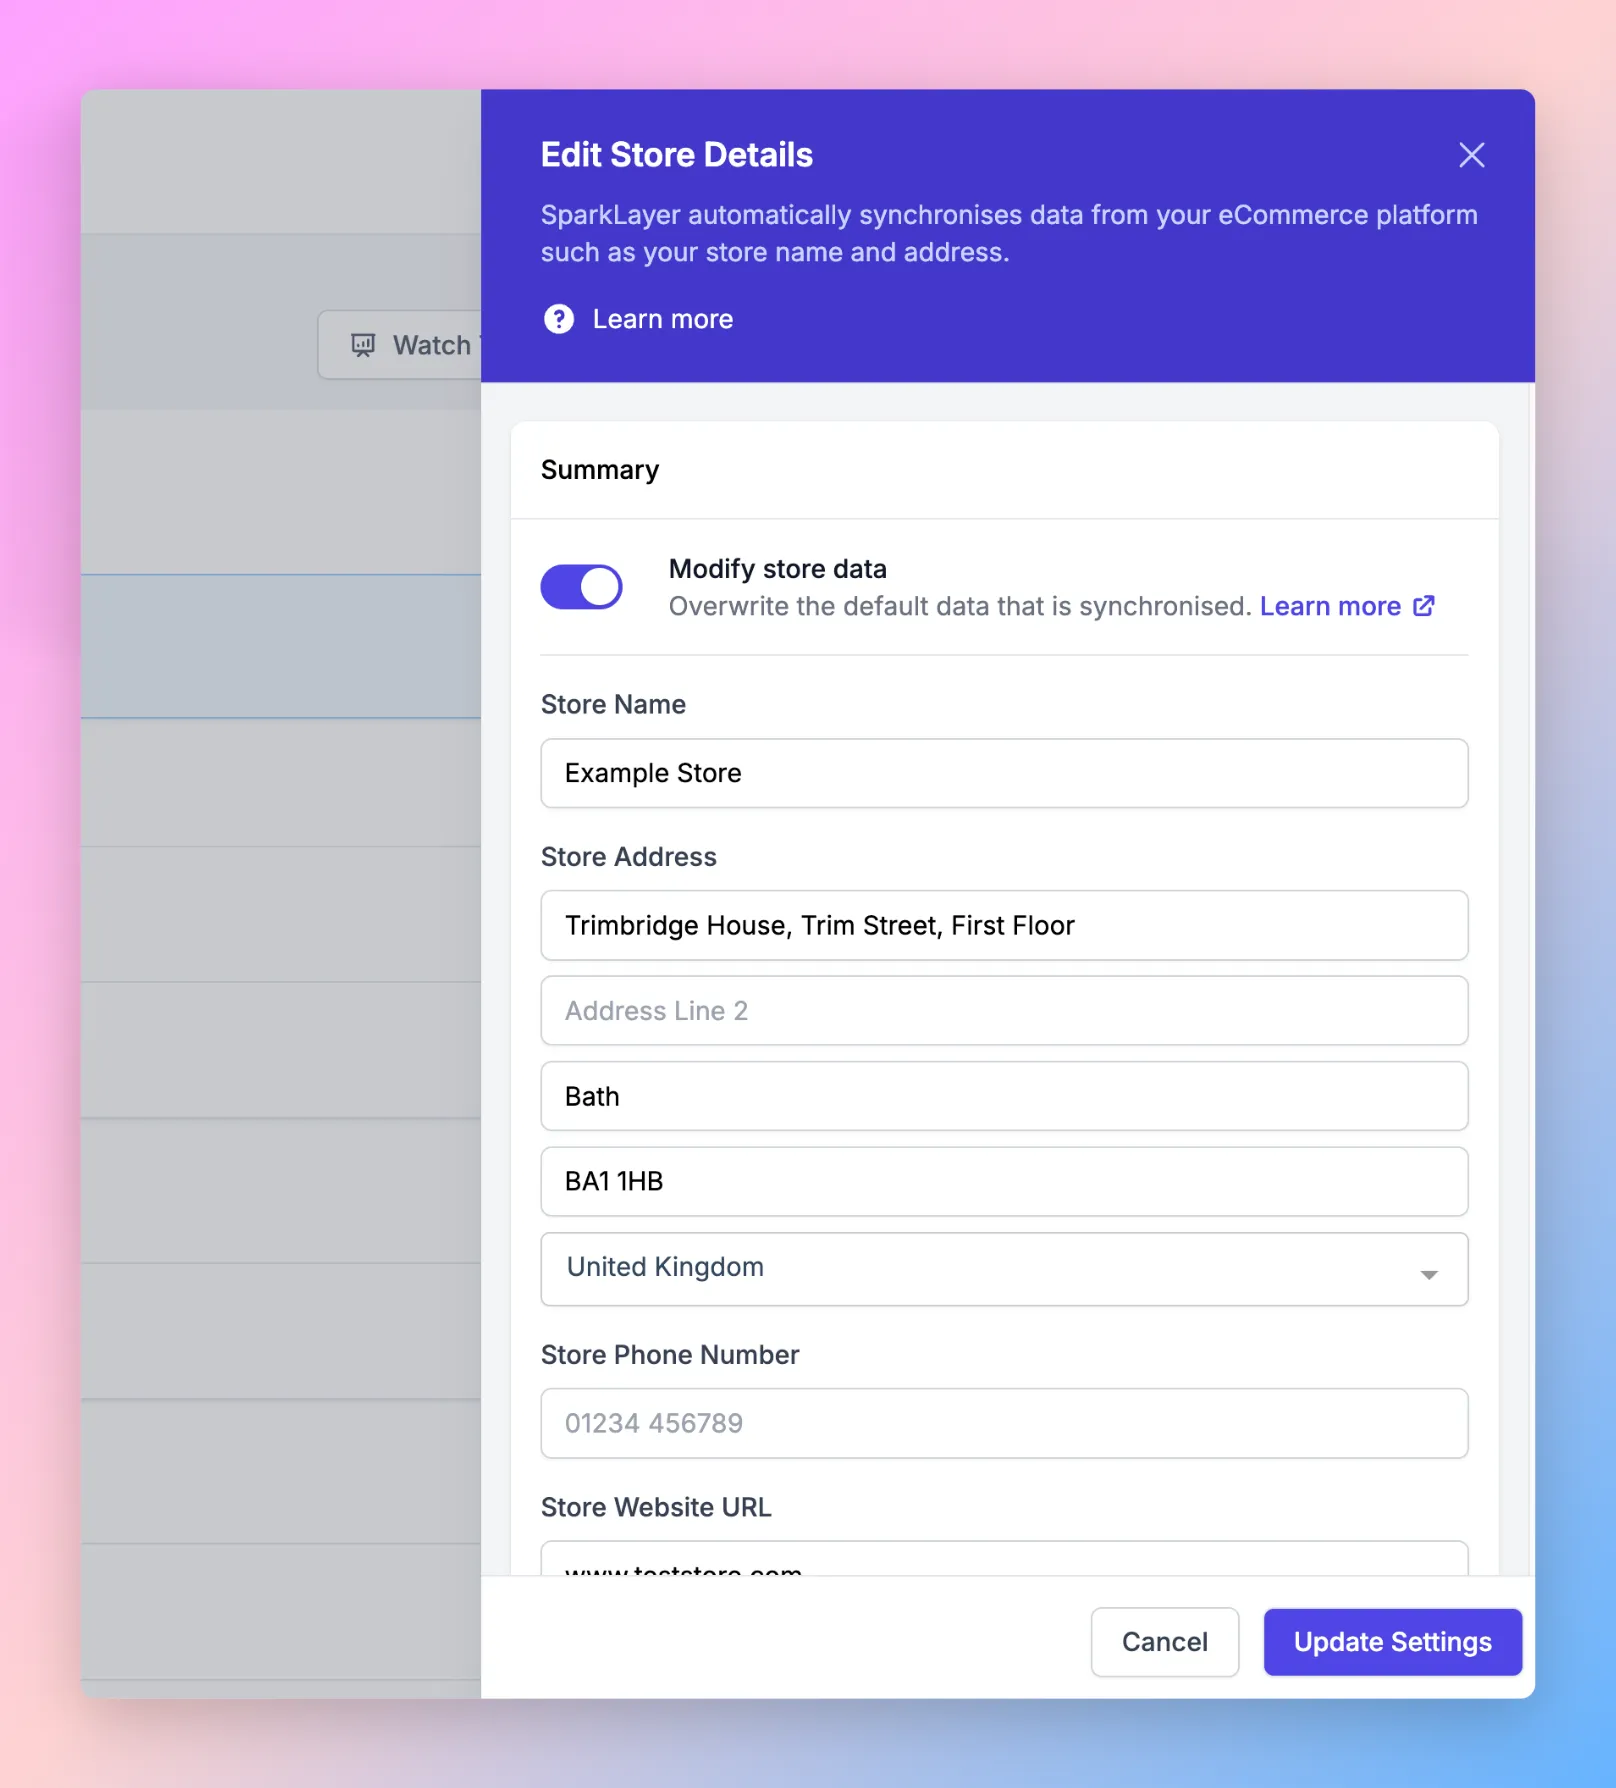
Please note Enabling the "Modify store data" setting will overwrite the default data synchronised from your Shopify store.
Additional Details:
- Once you modify the store name in SparkLayer, these changes will not sync back to your eCommerce platform.
- After enabling the modification setting, any future updates to the store name in your eCommerce platform will no longer reflect in SparkLayer.
- If you disable the "Modify store data" setting, the store name will automatically revert to the default, synchronised name from your eCommerce platform.
By following these steps, you can ensure your B2B store's details reflect your preferences while understanding how changes interact between SparkLayer and your eCommerce platform.
Shipping
To learn about how shipping works, please refer to our Shipping guide.
Templates
Please note The Templates feature is only available on the SparkLayer Pro and Enterprise plan. You can change your plan here or learn more about our how pricing works. Templates are also specific to your SparkLayer setup and have no impact on storefront "themes' that you may be using for your website design.
Templates allow you to customise the look, layout and data for emails and PDFs generated by SparkLayer. These currently include the following areas:
Template type | Details |
|---|---|
Order review emails | Used in parallel to Company Users when an order needs to be reviewed by a company user member |
Invoices | Used to generate the Invoices PDF that customers can download. |
Quotes | Used in notifications sent when using the Quoting Engine as well as the Quote PDF that customers can download. |
We've included a top-level overview of how Templates work below and you can also explore how they work in more detail in our Tech Docs.